

Battlefield REDSEC Battle Royale 101 — Map, Loadouts, Classes and Tips
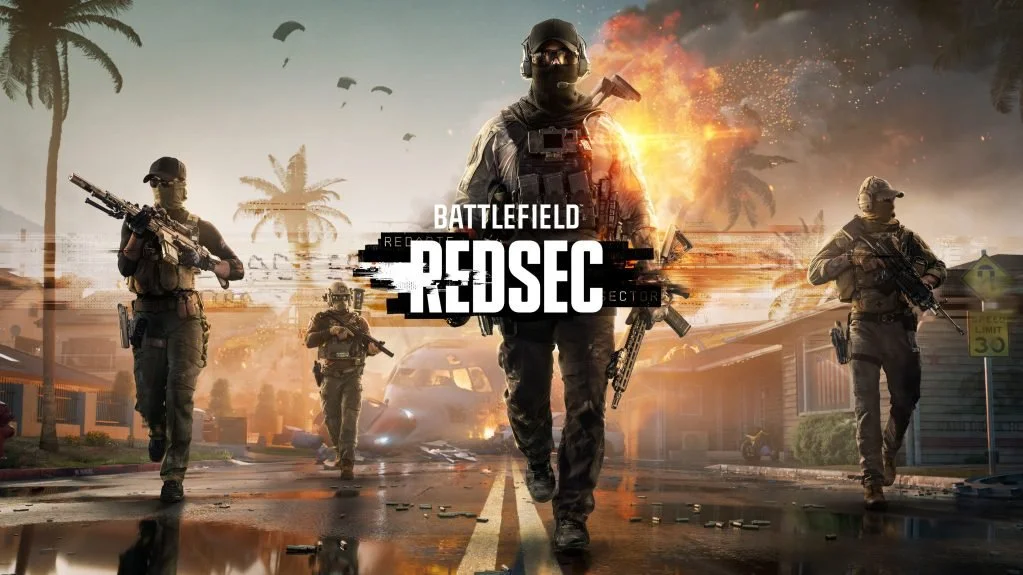
Battlefield REDSEC Battle Royale 101 - Map, Loadouts, Classes and Tips
Battle Royale is the core of Battlefield REDSEC, built around the Fort Lyndon map. This guide covers pre drop choices, zone strategy, class signature sets and unlock order, contracts, class chests, Thermite usage, circle behavior, and evac tactics.
1) Pre Drop Loadouts and Class Selection
You start with a sidearm and melee tool. Primary weapons and stronger kit come from crates and contracts on the ground. While in the infiltration plane you can preview and select your class loadout in mid air. The HUD shows your squad’s roles so you can balance composition before you jump.
- Coordinate classes in the plane to cover intel, sustain, and anti vehicle
- Pick a safe flight path and mark a zone before the leader calls the jump
2) Fort Lyndon Map Overview
Fort Lyndon features distinct zones that define early loot paths and rotations.
- Marina - open sightlines and mid range fights
- Downtown - hot urban drop with heavy crate density and contracts
- Golf Course - open fairways with cover along the greens
- Chemical Storage - vertical industrial zone with vault routes
- Radar Site - high ground intel hub for Recon squads
- Lighthouse - quiet edge drop with safe early loot
- Evac Alpha and Bravo - extraction sites for the endgame
3) Smart Drop Strategy - Zone by Zone Tips
- Beginners - Lighthouse or Golf Course for low contest starts
- Confident squads - Marina or Radar Site for clean rotations
- High risk high reward - Downtown or Chemical Storage for Class Chests and vaults
4) Loot, Class Chests, and Vaults
Crates control your early power spikes. Learn the color coding:
- Green - common loot
- Red or Black - rare loot and stronger upgrades
- Red with Class icon - Class Chests with premium class specific items
Class Chest spawns are predictable per zone but rotate between fixed points each match. Expect higher spawn chance in Downtown and Chemical Storage. Opening one early is the fastest way to get fully online for your role.
Engineers can open vaults with the Repair Tool. Plan routes that hit a couple of crates, a Class Chest, then a contract before the circle shifts.
5) Classes and Signature Sets
Each class has a Signature Set plus passive traits that unlock as you gain score from kills, contracts, and survival.
Assault
- Gadgets - Assault Ladder, HE Launcher
- Weapon bonus - fast draw AR
- Traits - objective speed boost, Quick Plating, Grenadier, Cluster Munitions, Stockpile
- Role - front line entry and room clear
Engineer
- Gadgets - Repair Tool, Aim Guided Launcher
- Weapon bonus - SMG handling buffs
- Traits - vehicle damage resist near allies, Targeting, Devastating Impact, Mobility Kill, Stockpile
- Role - anti vehicle anchor and vault opener
Support
- Gadgets - Supply Bag, Smoke Launcher
- Weapon bonus - faster ADS with LMG
- Traits - Supply Line, Urgent Aid, Hemostatic Smoke, Stockpile
- Role - sustain, ammo economy, revive security
Recon
- Gadgets - Motion Sensor, Recon Drone with explosive self destruct
- Weapon bonus - sniper stability and passive spotting
- Traits - Bombadier, Tracking Pulse, Loitering Munition, Stockpile
- Role - intel, flank control, and mid range picks
6) Signature Set Unlock Order - How Mid Match Power Spikes Work
Signature set passives unlock in a fixed order as you gain score. Staying alive together accelerates unlocks via squad XP.
- Passive 1 - early unlock from looting and first fights
- Passive 2 - mid game after contracts and squad wipes
- Passive 3 plus signature upgrade - near evac phase when survival time stacks
Surviving the first two circles is often more valuable than risky early engagements. Your class peaks hard once the second passive is online.
7) Thermite Sabotage - Uses You Should Practice
Thermite Sabotage is a universal anti vehicle tool that sticks to vehicles and cover.
- Pair Thermite with Engineer launchers to delete armor quickly
- Use Thermite on evac choppers and vehicles camping evac to break holds
- Throw Thermite at doors and chokepoints to deny pushes during revives
8) Circle of Death - Dynamic Behavior You Can Read
The circle does not always shrink evenly. It can lean toward priority terrain or evac routes based on the match state. Radar Site and Downtown frequently get favorable pulls. Read the lean early and rotate on edge rather than cutting through the center.
9) Endgame and Evac Strategy
Evac Alpha and Bravo do not open immediately. They unlock during the final circle phase and stay active for a short time window. Arriving early with utility and sightlines is often more important than chasing extra kills.
- Recon - scan approach routes and ping flanks
- Support - smoke crosses and stabilize revives
- Assault - hold doors and angles with grenades and quick plates
- Engineer - trap vehicles and deny breaches with launcher plus Thermite
- Recon spots rotations and tags targets at range
- Support keeps plates and ammo flowing, smokes for reposition
- Assault anchors entryways and pushes through smokes
- Engineer shuts down armor and punishes evac campers
FAQ - Battle Royale Basics
Do I get my full loadout at the start?
No. You drop with a sidearm and a melee tool. Primaries and gadgets come from crates and contracts after landing.
Can I pick my class before I land?
Yes. You can select your class in mid air and see your squad’s roles on the HUD to balance the team.
Where do Class Chests spawn?
Each zone has fixed points that rotate between matches. Downtown and Chemical Storage have the highest density.
When do evac points open?
During the final circle phase. Both Alpha and Bravo open for a short window. Securing position early is key.
What is Thermite best for?
Countering vehicles and breaking evac holds. Stick Thermite to armor or the evac chopper and time your push.